
4.2 Temporary Crown Printing
1) One-click Processing (default background functions and options have been configured.
① Set print parameters, and select "Machine", "Script", "Resin", and "Thickness" as needed;
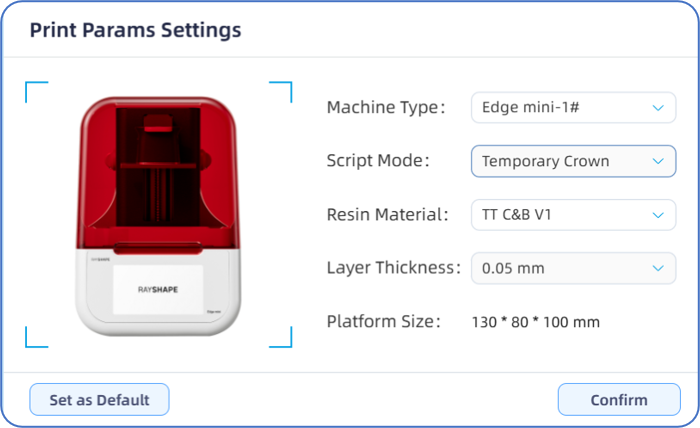
② Click the "File Operation - Import Model" button to import the dental model (group);
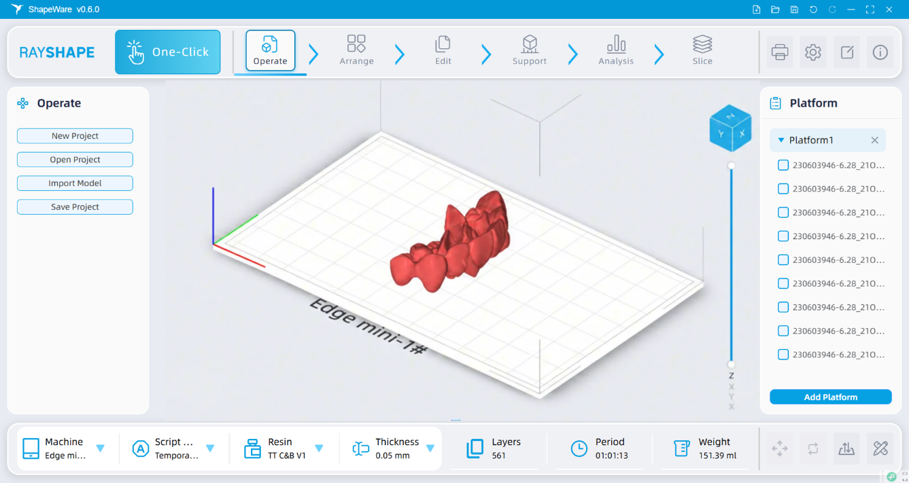
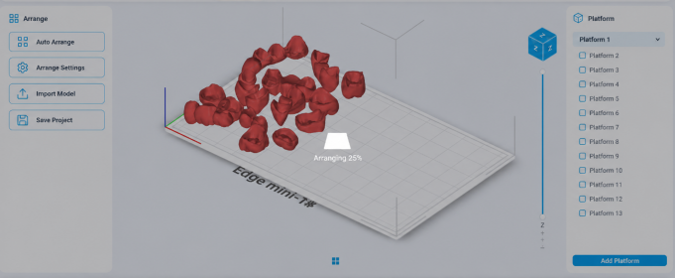
③ Click the "One-click Processing" button to start automatic model processing
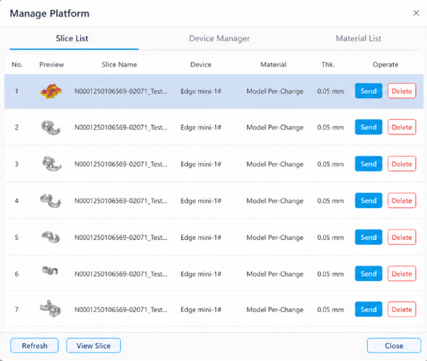
④ Click the "Send" button on the right side of the sliced file in "Platform Management - Slicing Management", designate the printer to send the slicing task, and complete the slicing process.
2)Process handling:
① Set print parameters, and select "Machine", "Script", "Resin", and "Thickness" as needed;
② Click the "File Operation - Import Model" button to import the dental model (group);
③ Click "Place Parts", "Edit Parts", "Add Support", "Printability Analysis", and "Slice" buttons in order as needed, and select specified functions to manually process the model;
④ Click the "Send" button on the right side of the sliced file in "Platform Management - Slicing Management", designate the printer to send the slicing task, and complete the slicing process.